

How To Make 3d Animated Cat On After Effects
Adobe's software allows you to transfer workflows and assets from 1 program to another. While the more common use of this cross-working is via the Adobe Dynamic Link betwixt Premiere Pro and Later on Effects, After Effects besides supports layered Photoshop files.
This is important because Subsequently Effects is less focused on design and prototype manipulation. So, by importing them via Photoshop, you can finesse your blithe graphics' layers before animative.
In this commodity, we'll show you how to have several photos into Photoshop, manipulate and ready them into layers, and and so import them into After Effects for animating.
Preparing Your Imagery In Photoshop
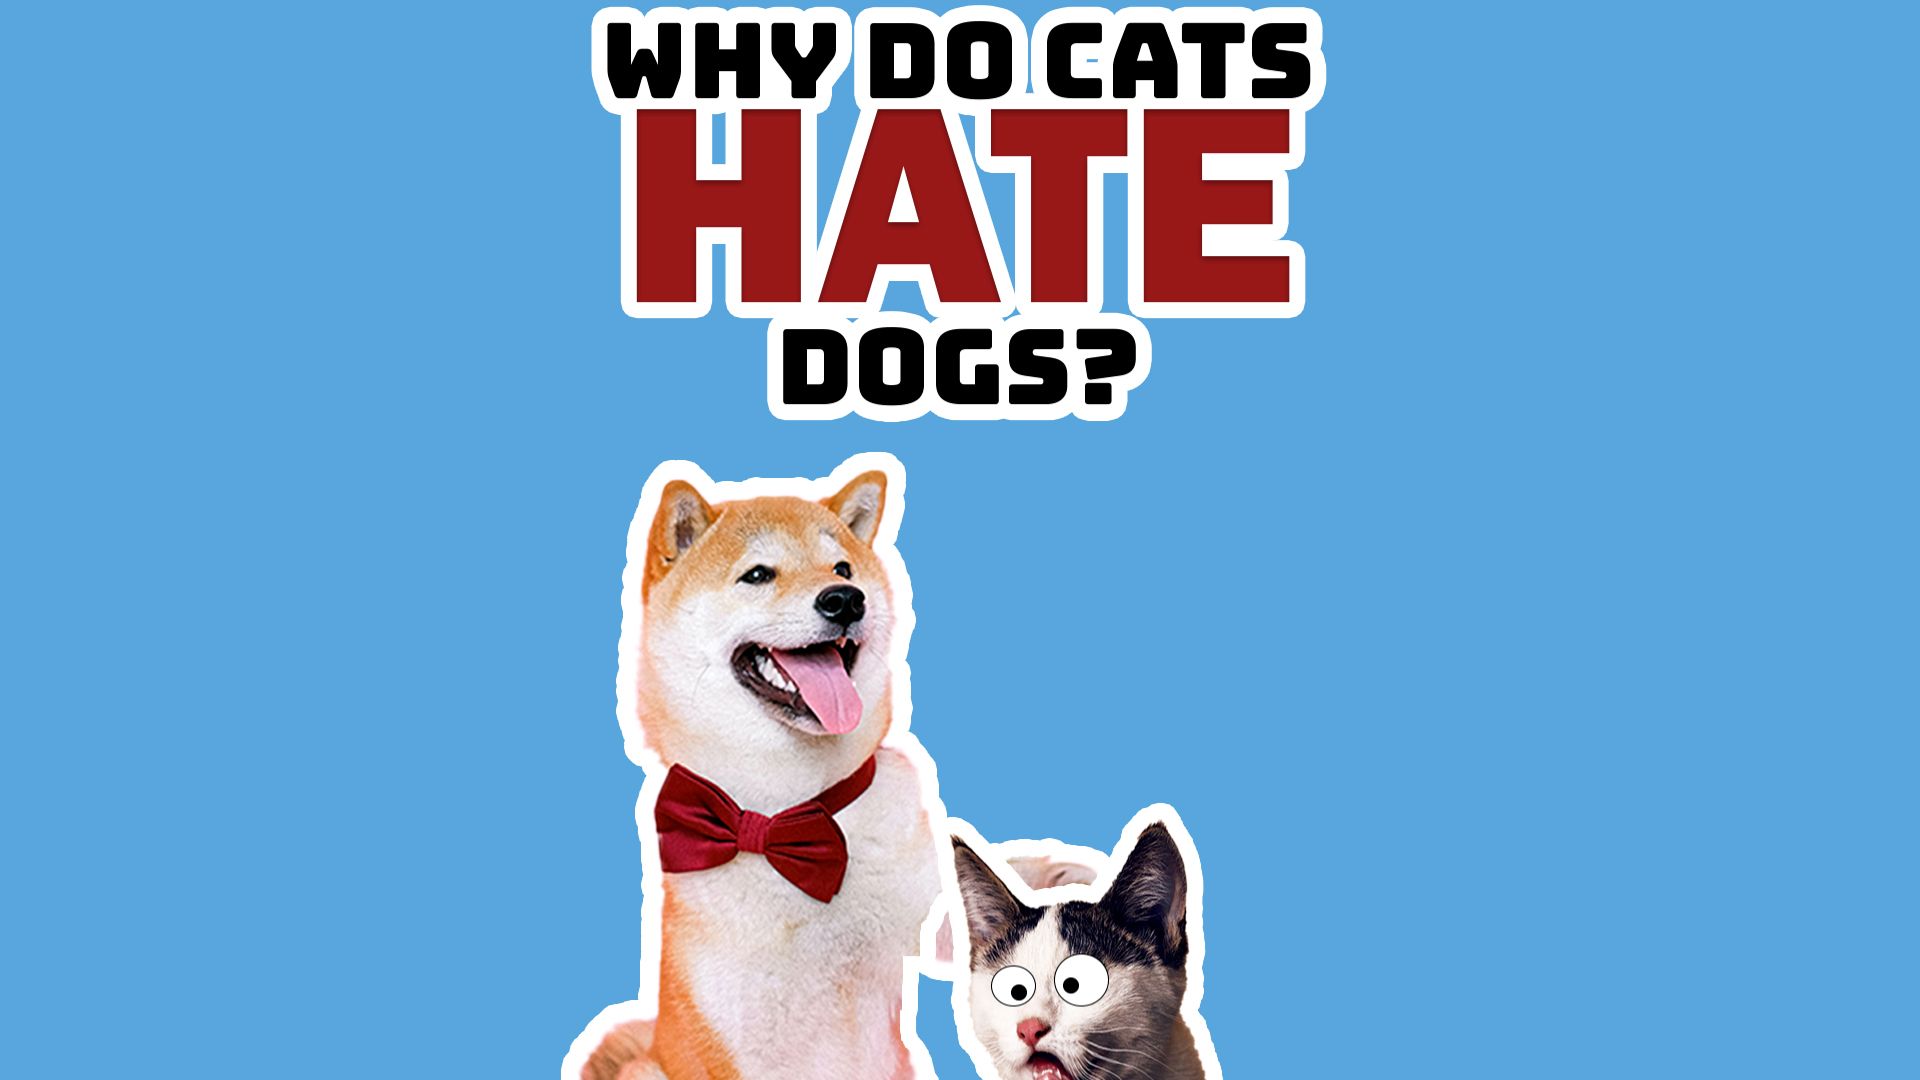
Allow's starting time by finding pictures for the final animated graphic.
For your ain project, y'all can use whatever y'all want. Merely in this case study, images from Pexels will be used. There's a broad range of websites that allow you download royalty-gratuitous imagery.
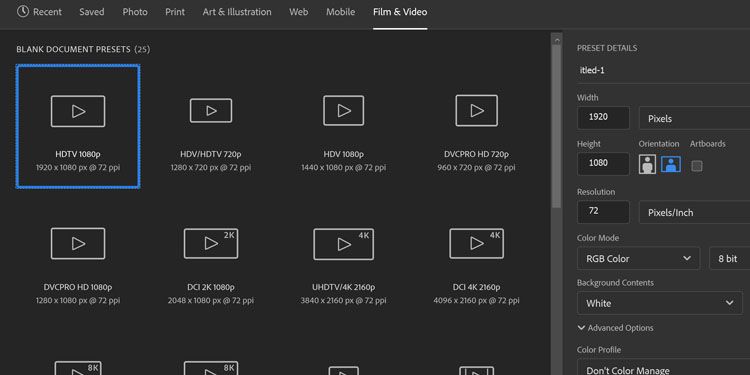
One time yous've found the pictures you lot desire, create a new image in Photoshop. Ideally, you lot want the dimensions of your Photoshop file to lucifer your video output. So, if you lot're producing an animation in Hard disk, yous'll want the dimensions of the canvass to be one,920 pixels broad by ane,080 pixels tall.
Once you've got your HD sheet loaded, bring in the downloaded imagery. In this example, the basic images take already been added.
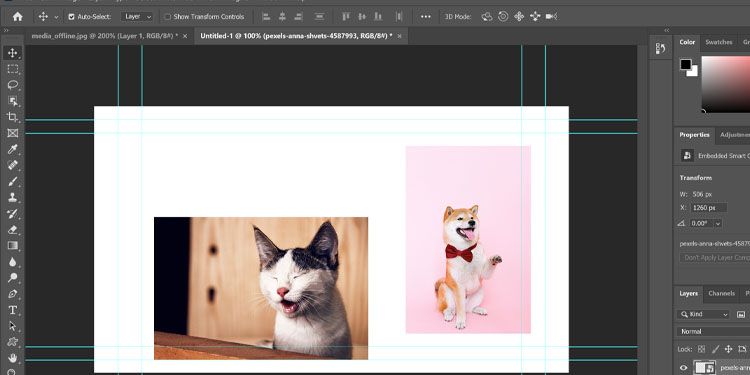
Adjacent, permit's cut out the subjects, calibration them, and add some props and text. If you're not certain how to do this, or find yourself a little stuck, our guide to Photoshop editing basics should assistance point y'all in the right direction.
Once you're happy with your editing, you should accept a base prepare of images and layers.

Preparing Your Layers
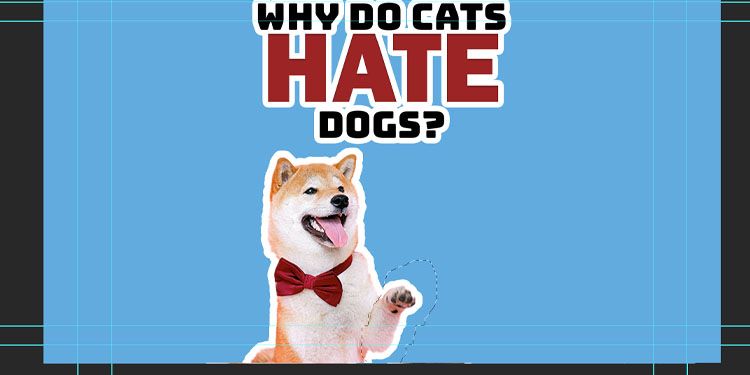
In this case, we want the dog's paw to hit the irritated cat on the head. Let's select the paw by using the lasso tool.
One time selected, correct-click on your keyboard and choose Layer Via Cut. The selection, which in this example is the hand, will now become a new layer.
Speaking of layers, you should rename each of these clearly. Then, yous'll know what corresponds to what. An example of how to do this is below:
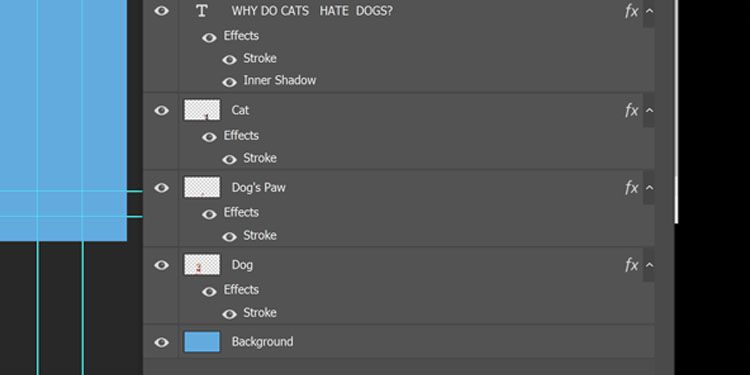
Finally, y'all desire the cat to react to getting striking on the head past the canis familiaris'south hand. Let's duplicate the layer called True cat, titling one Cat_Normal, and the duplicate Cat_Bonked.
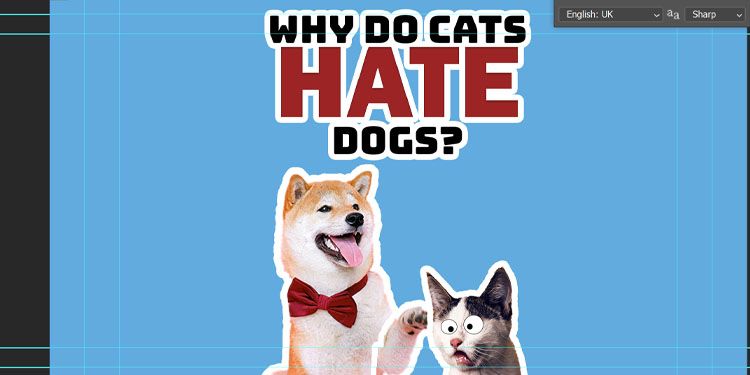
For the Cat_Bonked layer, googly eyes accept been drawn on to add together an extra effect.
Then, now you accept all the elements of your graphic. Make sure your layers are labeled and everything is where you desire information technology to be. And then, it'southward fourth dimension to first animating in After Effects.
Bringing Your Photoshop File Into After Effects
First matter's first: you demand to brand certain your layers are saved as a .PSD file. StrikingFile > Salve As. Past default, information technology will salve in the .PSD format. This is how information technology then be imported into Later Furnishings from Photoshop.
In this example, the file will be called Dog_Cat_Animation.PSD.
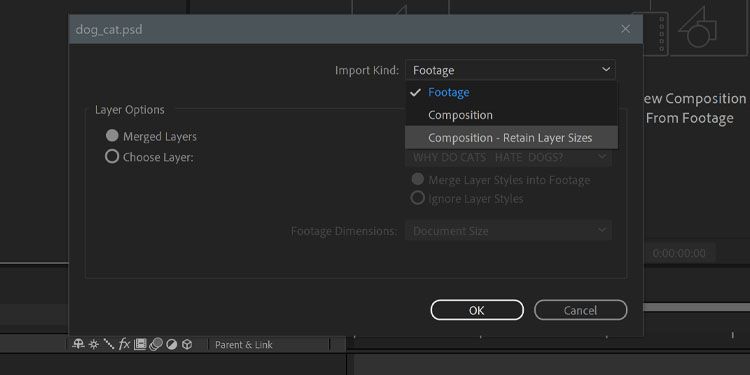
Adjacent, open After Furnishings. HitFile > Import > File. Navigate to your new .PSD file, where you will then encounter a dialog box. In theImport Kind dropdown card, selectComposition - Retain Layer Sizes.
This will import all of the individual layers of your Photoshop file, while keeping the sizes in line with the dimensions (hence why y'all chose an HD resolution at the commencement). StrikingOK.
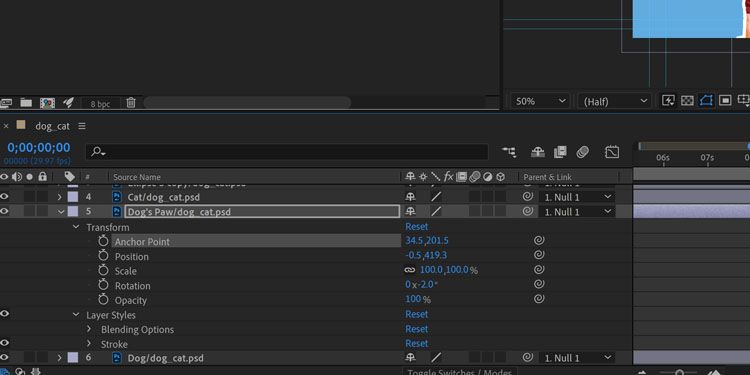
You should now accept a new limerick with the aforementioned name every bit your .PSD file. Double-click to open up it. Each of your layers from Photoshop is now a layer in your limerick timeline.

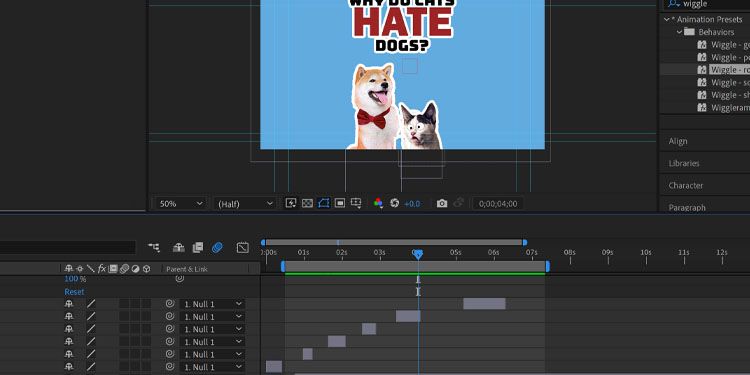
Now, the animating can begin. Commencement past moving the title text off-screen---it's going to be animated to "autumn" into the screen.

Let's as well move our hirsuite friends down; they're going to gradually movement into frame as the text falls in identify.
To salvage time, hitLayer > New > Goose egg Object, and parent the Domestic dog, Dog Paw, Cat_Normal, and Cat_Bonk layers into information technology.
Now, whatever motion you employ to the null object will use to all of these.
Let'south keyframe the move at the bottom of the composition at frame 0, and accept a gradual ascent over v seconds.
Don't forget that yous can add keyframes toMotion parameters by clicking theStopwatch icons besides.
Side by side, allow'south breathing the canis familiaris'southward paw and the cat's reaction.
In theTransform attributes of the dog's paw layer, set theAnchor Point to the lesser of the dog's leg. Doing so will ensure that any rotation you animate pivots around that point, where the joint of the bone would naturally be.
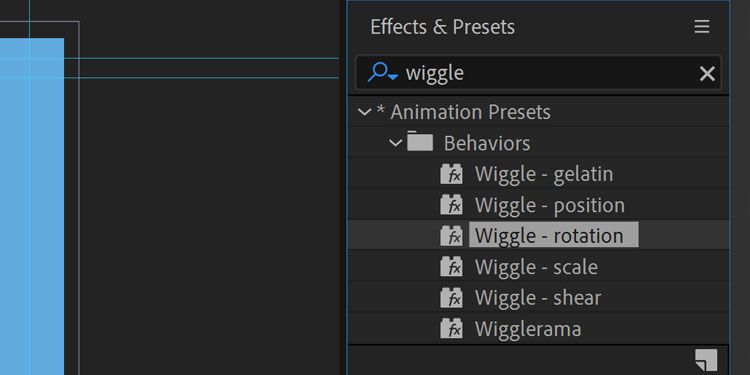
Side by side, depending on how you want it to wait, y'all could either keyframe the rotation of the dog's paw and add a looping expression, or use theWiggle - Rotation upshot to create a set of randomized movements.
You lot can detect a diverseness of effects in theEffects & Presets panel. Drag and drop information technology on the layer to apply, and suit the parameters to decide the speed and rotation amount of the layer.
Finally, create the consequence of the cat being hit by the dog'south paw by cutting in between the two frames we prepared before, to create the illusion of motion.
Animate in the text and in that location it is, you have your animated graphic! Now yous tin can apply information technology wherever you want.
Though it'southward harder to demonstrate without a video example, you can rest assured that the canis familiaris's paw is striking the cat with joyous gusto.
Using Photoshop and Subsequently Effects Together
This was a quick run-through of how to create a layered image in Adobe Photoshop and later animate the individual layers and elements in After Effects. Although the instance study looked at was basic, you can utilize the same steps to create complex layered files that can be animated in Later on Effects.
This quick do should give you an understanding of how the two programs can be combined together to create some awesome content. And don't forget that this process has all taken place in two dimensions to keep things unproblematic, simply rest bodacious that you can likewise animate Photoshop layers with 3D motion.
Source: https://www.makeuseof.com/how-to-work-between-photoshop-after-effects-animated-graphics/
Posted by: hyerlorge1995.blogspot.com
0 Response to "How To Make 3d Animated Cat On After Effects"
Post a Comment